
How to Replace Windscreen Wipers in Minutes
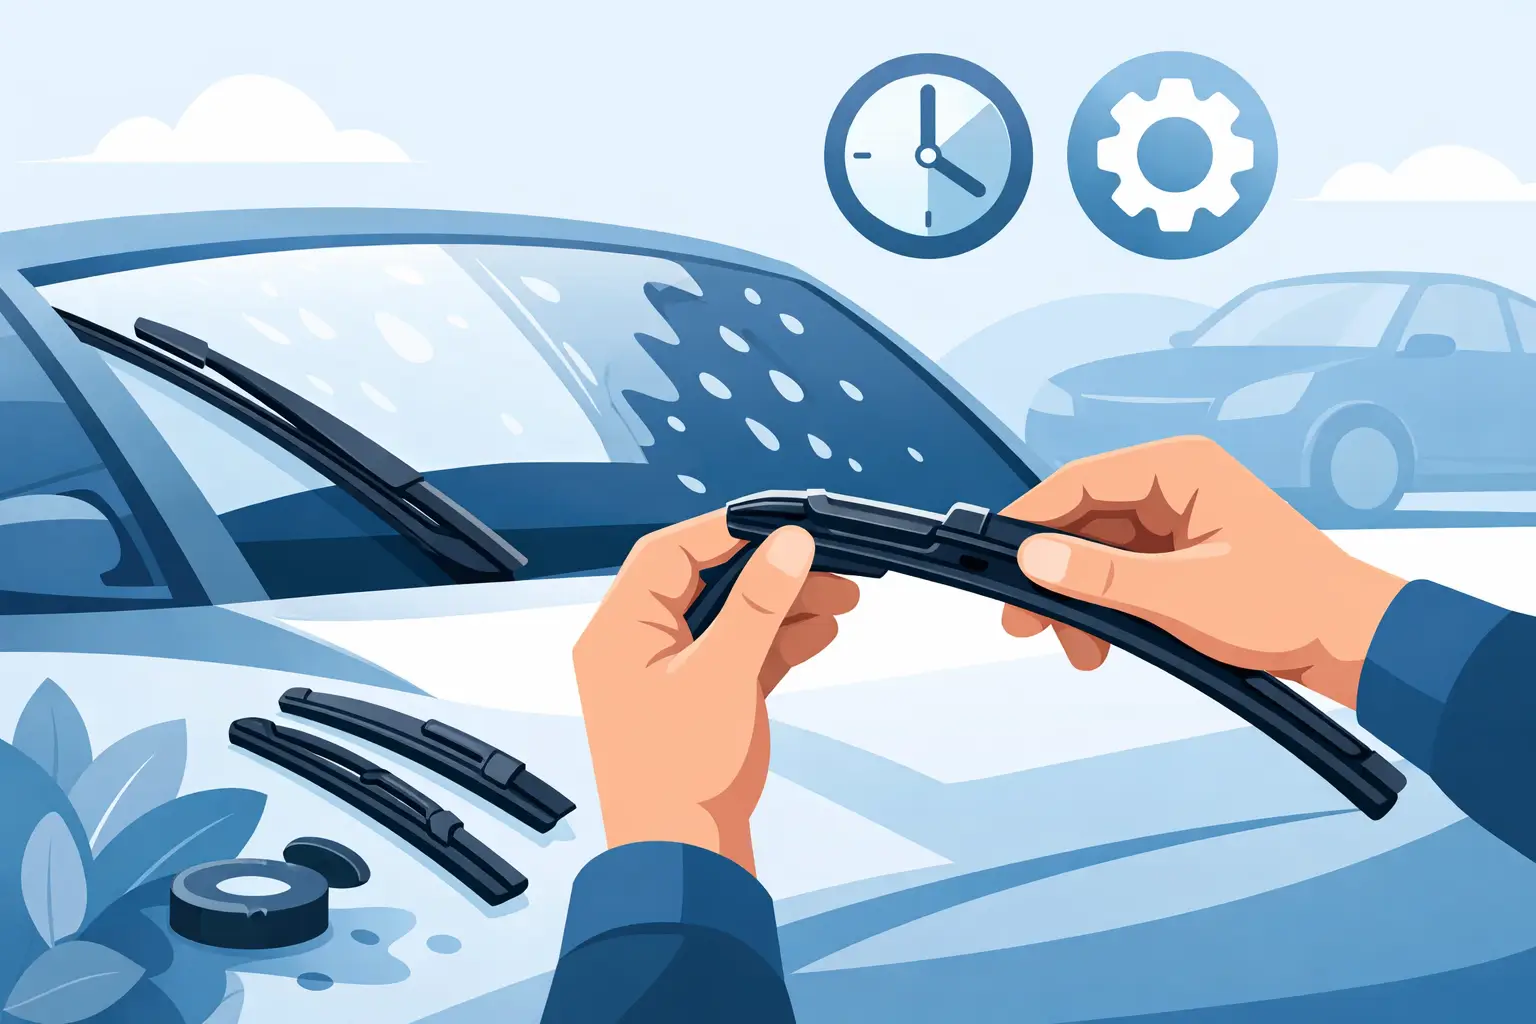
That first heavy shower is a poor time to find out your wipers have had enough. If they leave smears across your line of sight, chatter over the glass or miss sections of the windscreen, learning how to replace windscreen wipers is one of the quickest safety jobs you can do at home. No workshop booking. No fiddly tools. Just clear views when the weather turns.
For most cars, SUVs and utes, replacing a pair of front wiper blades takes less than a minute once you have the correct set. The key is not force or mechanical know-how. It is choosing vehicle-specific blades, handling the wiper arm carefully and checking the new blades before you hit the road.
When should you replace windscreen wipers?
Wiper blades do not always fail all at once. The rubber slowly hardens from sun, heat, dust and road grime, then starts to skip or split. In Australian conditions, that can happen sooner than expected, especially if your car sits outside through hot summers.
Replace your wipers when you notice streaks that do not clear on a second wipe, a hazy film left behind, squeaking or chattering, torn rubber, or an uneven wiped area. A blade that has come loose from its frame needs replacing straight away.
As a general rule, inspect them every few months and expect to change them about every six to 12 months. It depends on where you park, how often you drive in rain and whether you regularly clean the windscreen. Wipers used on long regional drives may wear differently from those on a city commuter, but neither should be left until visibility is compromised.
Choose the right replacement blades first
A wiper blade can look close enough and still be wrong for your vehicle. Length matters, but so does the connection point on the wiper arm. Generic blades may include a pile of adaptors, leaving you to guess which one fits. That is where a simple job becomes frustrating.
The easier option is to select blades by your vehicle’s make, model and year. A vehicle-specific kit should arrive with the correct front blade lengths and pre-fit adaptors, so it clicks onto the arm without trial and error. If your vehicle has a rear wiper, check whether it needs a separate rear blade too. Rear wipers often use a different fitting and are easy to overlook.
Before ordering, confirm the exact model variant where possible. A model can have different windscreen wiper fittings across generations or body styles. The vehicle finder at Auto Cross is designed to take that compatibility work off your hands, with a Perfect Fit, Guaranteed approach that helps you buy with confidence.
Avoid buying only one front blade unless the other is nearly new and still wiping perfectly. Front blades wear under the same conditions, and replacing them as a pair gives you more even clearing across the windscreen.
What you need before you start
You will usually only need your new wiper blades and a soft towel. The towel is there to protect the glass, not because installation is difficult.
Park on level ground, switch the ignition off and make sure the wipers are in their normal resting position. If your vehicle tucks the blades beneath the bonnet edge, use its wiper service position. Many newer cars activate this by switching the ignition off, then holding the wiper stalk in the wipe position for a few seconds. Check your owner’s manual if you are unsure.
Do not pull the wiper arms up in strong wind. They are spring-loaded and can snap back against the glass. That is the one mistake worth taking seriously: an uncovered metal arm can chip or crack a windscreen.
How to replace windscreen wipers step by step
1. Lift one wiper arm away from the glass
Start with the driver’s side so you can compare the old blade with the new one if needed. Lift the arm until it stays raised. Place your towel on the windscreen beneath the arm as a safeguard.
Work on one side at a time. It keeps the left and right blades from getting mixed up if they are different lengths, which is common on modern vehicles.
2. Find the release tab or clip
Look where the blade connects to the end of the wiper arm. Most passenger vehicles use a hook-style arm with a small plastic release tab underneath or near the adaptor. Others use a push-button, side-lock or top-lock fitting.
Do not twist the blade or pull hard. Press the release point, then slide the old blade down or away from the hook, following the direction of the arm. If it feels stuck, pause and look closely at the fitting. Dirt can make a clip feel tight, but forcing it can damage the adaptor or bend the arm.
3. Remove the old blade carefully
Once the catch is released, the old blade should slide free. Keep one hand on the wiper arm while removing it, so it cannot spring back onto the glass.
Take a moment to check the old rubber. Cracks, flattened edges and rough spots confirm it was due for replacement. If the rubber looks fine but wiping has been poor, clean the windscreen thoroughly before fitting the new blades. Tree sap, wax residue, salt spray and oily road film can all cause smearing.
4. Clip the new blade into place
Line up the new blade adaptor with the end of the wiper arm. Slide or push it on in the reverse direction to removal until you hear or feel a firm click. Give the blade a gentle tug to make sure it is locked in place.
The blade should sit naturally along the windscreen, with no loose adaptor or awkward angle at the connection point. If it will not click in, stop rather than trying to make it fit. Recheck that you have the correct blade for that side and the correct attachment style.
5. Lower the arm gently and repeat
Lower the arm back onto the glass slowly. Do not drop it. Repeat the process on the passenger side, then replace the rear blade if your vehicle has one.
Rear blades are usually just as simple, but their fittings vary more than front blades. Some release with a small tab while others rotate off the arm. Check the new blade’s fitting before removal so you know how the replacement will attach.
Test the new blades before you drive
A quick test tells you whether everything is seated properly. First, make sure both blades are resting flat against the glass. Then spray windscreen washer fluid and run the wipers at low speed.
You are looking for smooth, quiet movement and a clean, even wipe. New blades may leave a faint trace for the first few wipes if the screen is dusty, but persistent streaking is not normal. Clean the windscreen again with suitable glass cleaner and wipe the rubber edge with a damp cloth. If the issue remains, check that the blade is fully clipped in and has not been fitted upside down.
Never run wipers over a dry, gritty windscreen just to test them. Dry dust can drag across the rubber and shorten its life. Washer fluid gives the blade the lubrication it needs to glide properly.
Small habits that help wipers last longer
New blades work best on clean glass. Regularly remove dust, bugs and grime from the windscreen, especially after highway driving. Top up washer fluid rather than relying on plain water, which does a poorer job on oily film and can leave residue behind.
On frosty mornings, free the blades from the glass before switching them on. In hot weather, avoid using wipers to clear baked-on dirt without washer fluid. And if you wash the car, give the blade edges a gentle wipe too. It takes seconds and helps prevent chatter.
Do not ignore a noisy wiper just because it still moves. Noise often means the rubber is dragging, contaminated or starting to harden. Clear visibility should feel effortless: no squeaks, no streaks, just a clean windscreen when the next downpour rolls through.
A fresh set of correctly fitted wipers is a small spend that makes every wet-weather trip easier to see and safer to drive. Check yours before the clouds build, not while you are trying to peer through a smeared windscreen at a busy intersection.
Posts Widget



Copyright 2026 © AutoCross. | Sitemap
